Big news!! If you missed it, I just started a new role at Dash0! I’m beyond excited to dive into this new world of observability, making it simpler, smarter, and fun! As part of my onboarding, I decided to go back to basics and start from scratch, to really understand how OpenTelemetry behaves inside Kubernetes.
In this blog we’ll spin up a local Kubernetes cluster using kind (Kubernetes in Docker), install the OpenTelemetry Operator and Collector, deploy two small apps (Node.js + Java), and watch telemetry appear all without touching the app code!
I’ll explain what’s happening at each step and hopefully you’ll understand observability a little more!
0) Prereqs 🔗
You need some basic tools installed on your local machine. These are what make it possible to run Kubernetes and manage it locally.
- Docker Desktop
kubectlkind— install withbrew install kindhelm— install withbrew install helm
If you have all of these, you’re ready!
1) Create a local cluster with kind 🔗
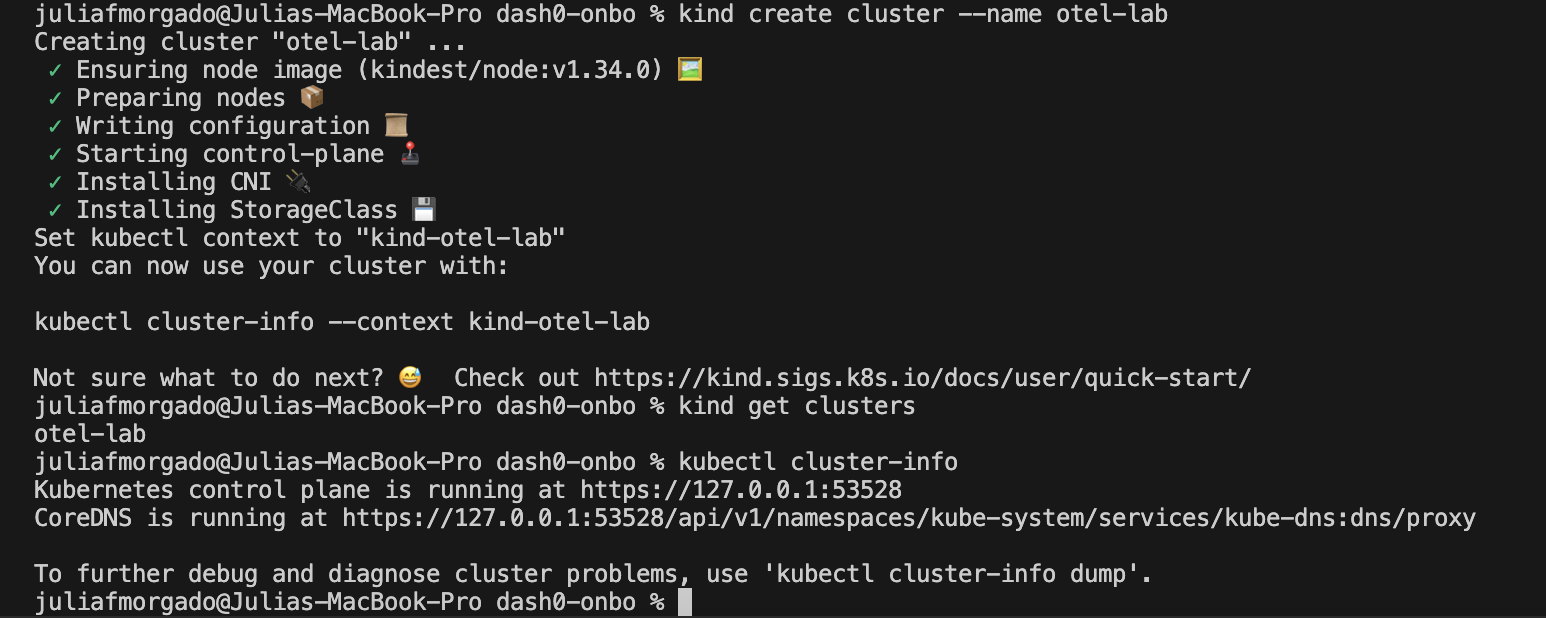
Let’s start by spinning up a lightweight Kubernetes cluster inside Docker. This is like creating a mini version of Kubernetes that runs locally in your machine.
kind create cluster --name otel-lab
kubectl cluster-info
2) Install cert-manager 🔗
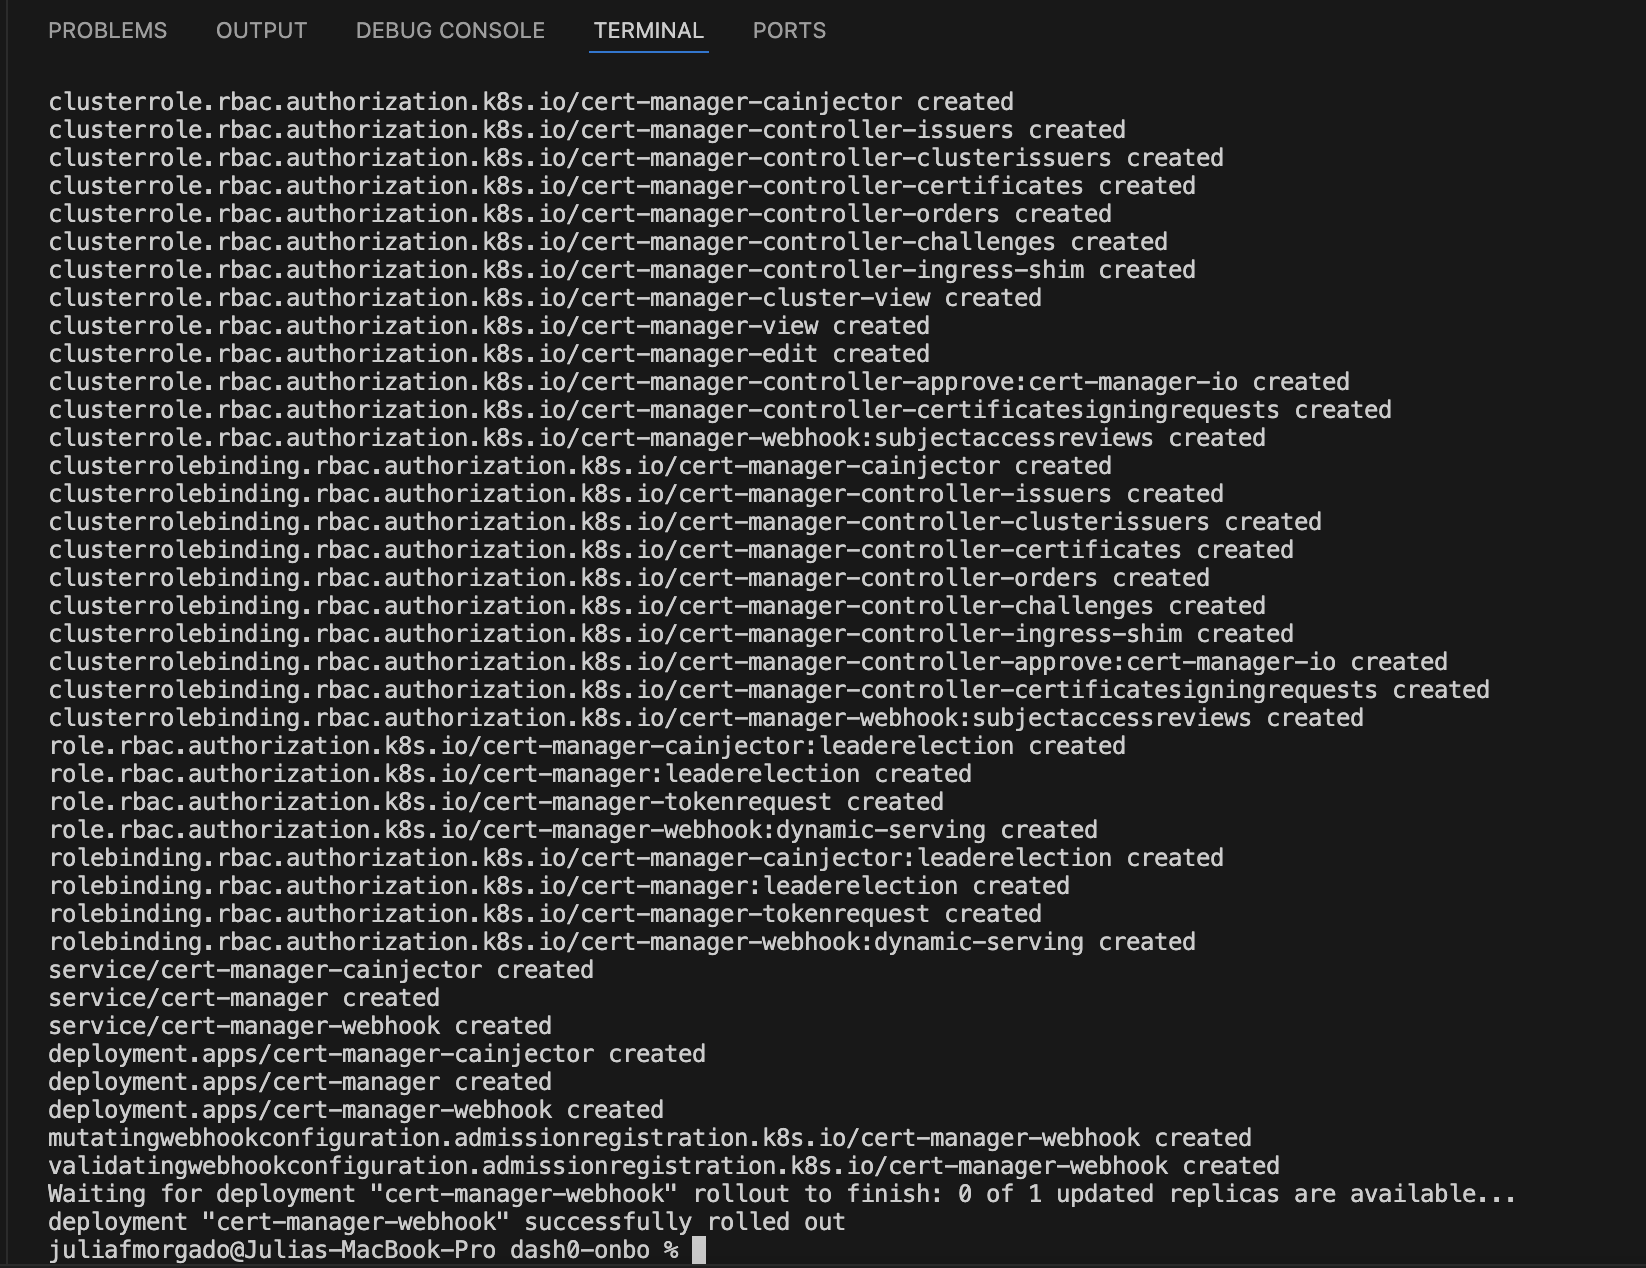
Many Kubernetes Operators (including the OpenTelemetry one we’ll use) rely on webhooks — and those require TLS certificates.
Rather than handling that manually, we’ll use cert-manager to automate certificate generation and management.
kubectl apply -f https://github.com/cert-manager/cert-manager/releases/latest/download/cert-manager.yaml
kubectl -n cert-manager rollout status deploy/cert-manager-webhook
Wait until it says “deployment successfully rolled out.” That means it’s ready!
3) Install the OpenTelemetry Operator 🔗
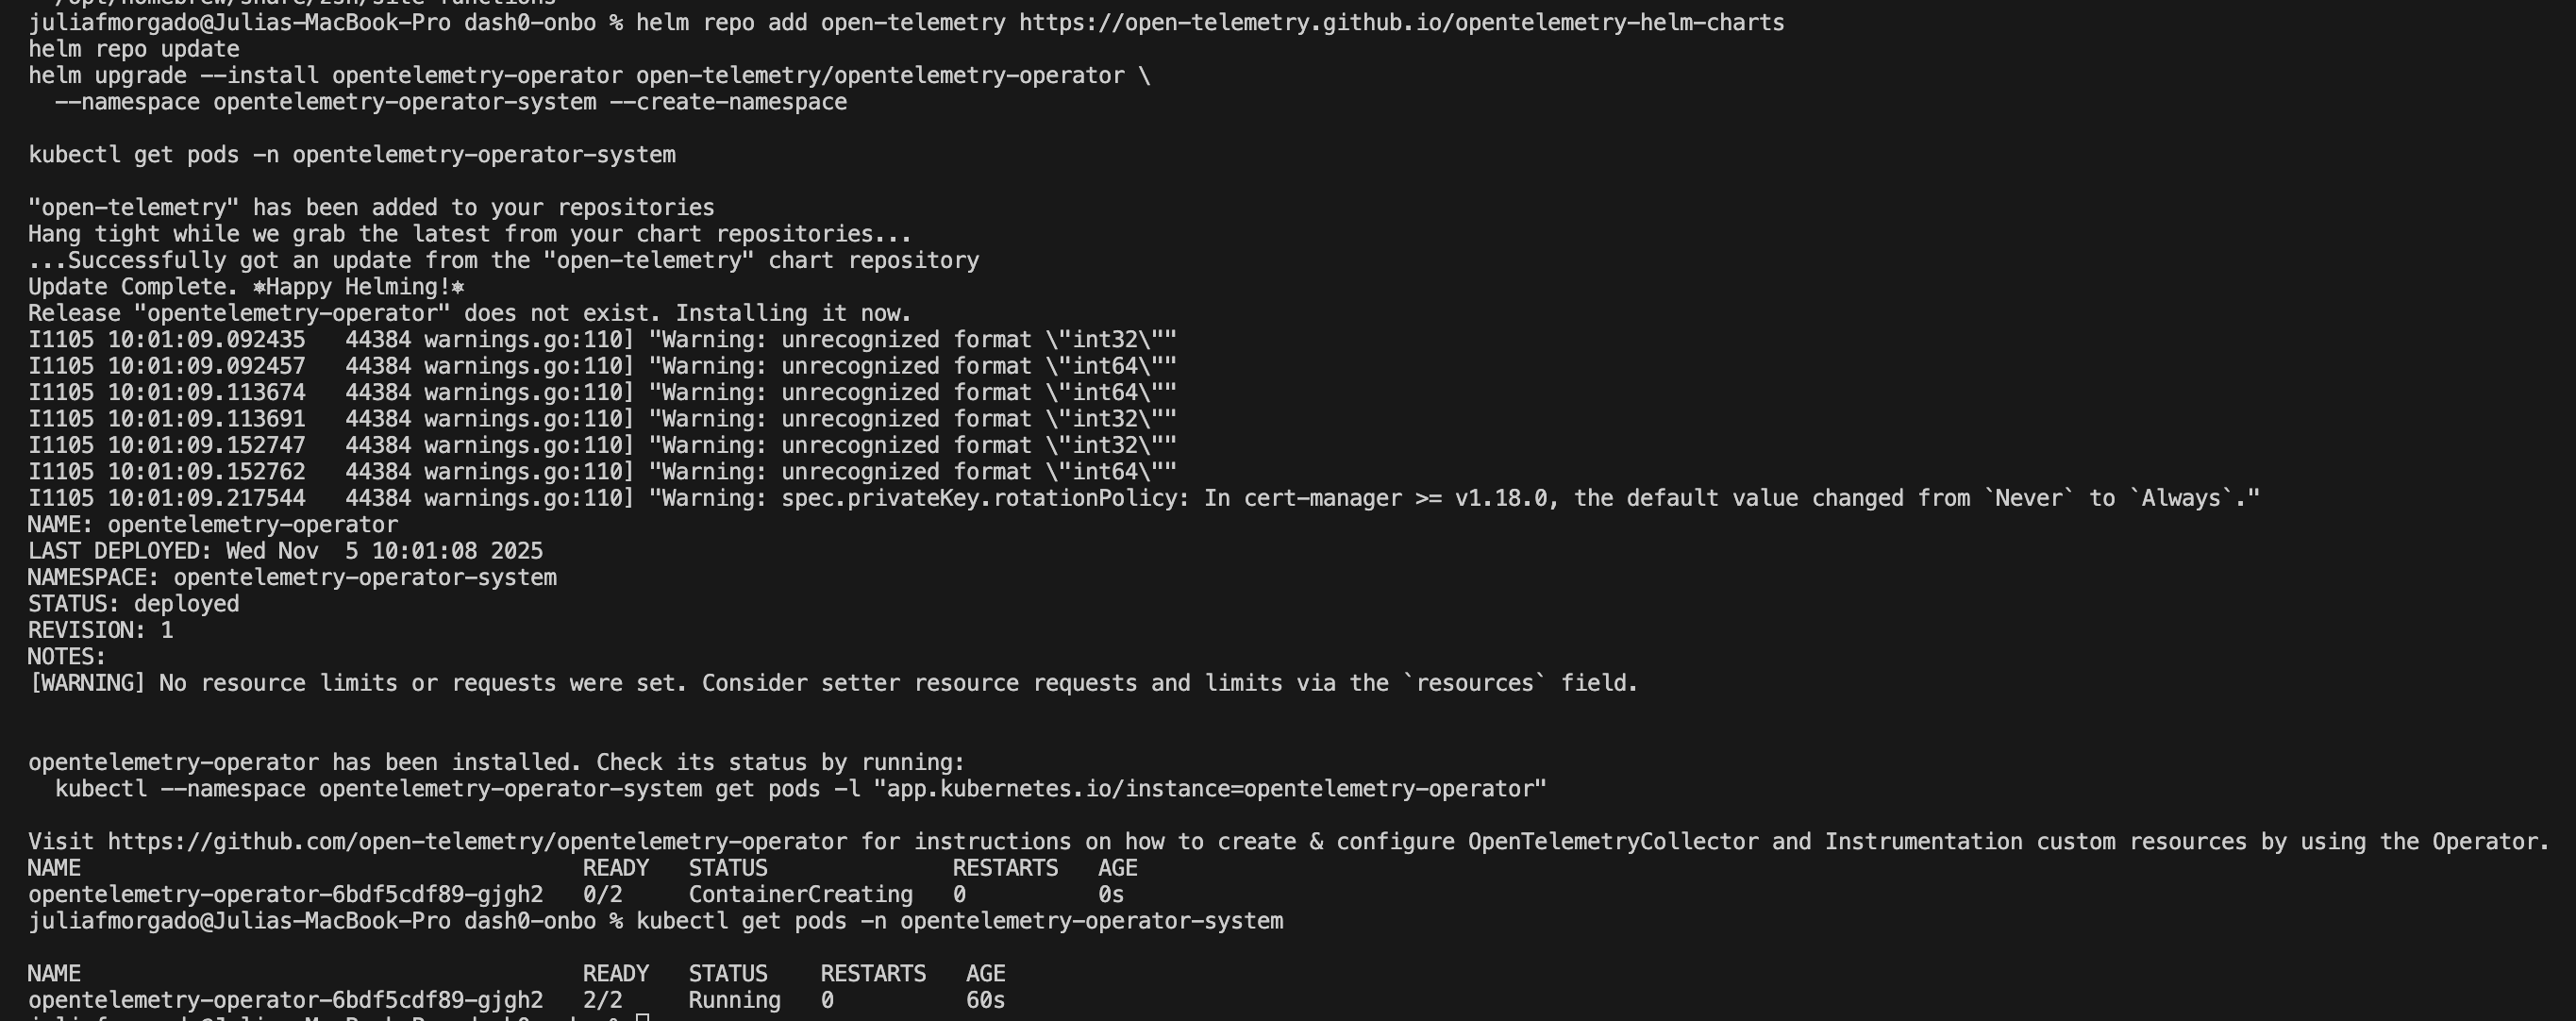
This Operator is the magic piece that can auto-instrument your apps. So when you deploy an app, the Operator will detect what kind of app it is, and automatically injects the right OpenTelemetry code (called an “agent” or “SDK”) into it without you touching your app’s code. This injected code is what starts collecting telemetry (traces, metrics, logs).
helm repo add open-telemetry https://open-telemetry.github.io/opentelemetry-helm-charts
helm repo update
helm upgrade --install opentelemetry-operator open-telemetry/opentelemetry-operator \
  --namespace opentelemetry-operator-system --create-namespace
Check that the Operator pod is running: kubectl get pods -n opentelemetry-operator-system
4) Deploy a minimal OpenTelemetry Collector 🔗
The Collector acts as a smart middle layer: it receives telemetry signals (traces, metrics, and logs) from your apps, processes them, and exports them either just to logs or to a powerful backend like Dash0. For now, we’ll use a simple “debug” exporter to print telemetry straight to the Collector’s logs.
Create a file called otel-collector.yaml:
cat <<EOF >otel-collector.yaml
apiVersion: opentelemetry.io/v1beta1
kind: OpenTelemetryCollector
metadata:
  name: otel
  namespace: default
spec:
  mode: deployment
  config:
    receivers:
      otlp:
        protocols:
          http: {}
          grpc: {}
    processors:
      batch: {}
    exporters:
      debug:
        verbosity: detailed
    service:
      pipelines:
        traces:
          receivers: [otlp]
          processors: [batch]
          exporters: [debug]
        metrics:
          receivers: [otlp]
          processors: [batch]
          exporters: [debug]
        logs:
          receivers: [otlp]
          processors: [batch]
          exporters: [debug]
      telemetry:
        logs:
          level: "debug"
EOF
Apply it:
kubectl apply -f otel-collector.yaml
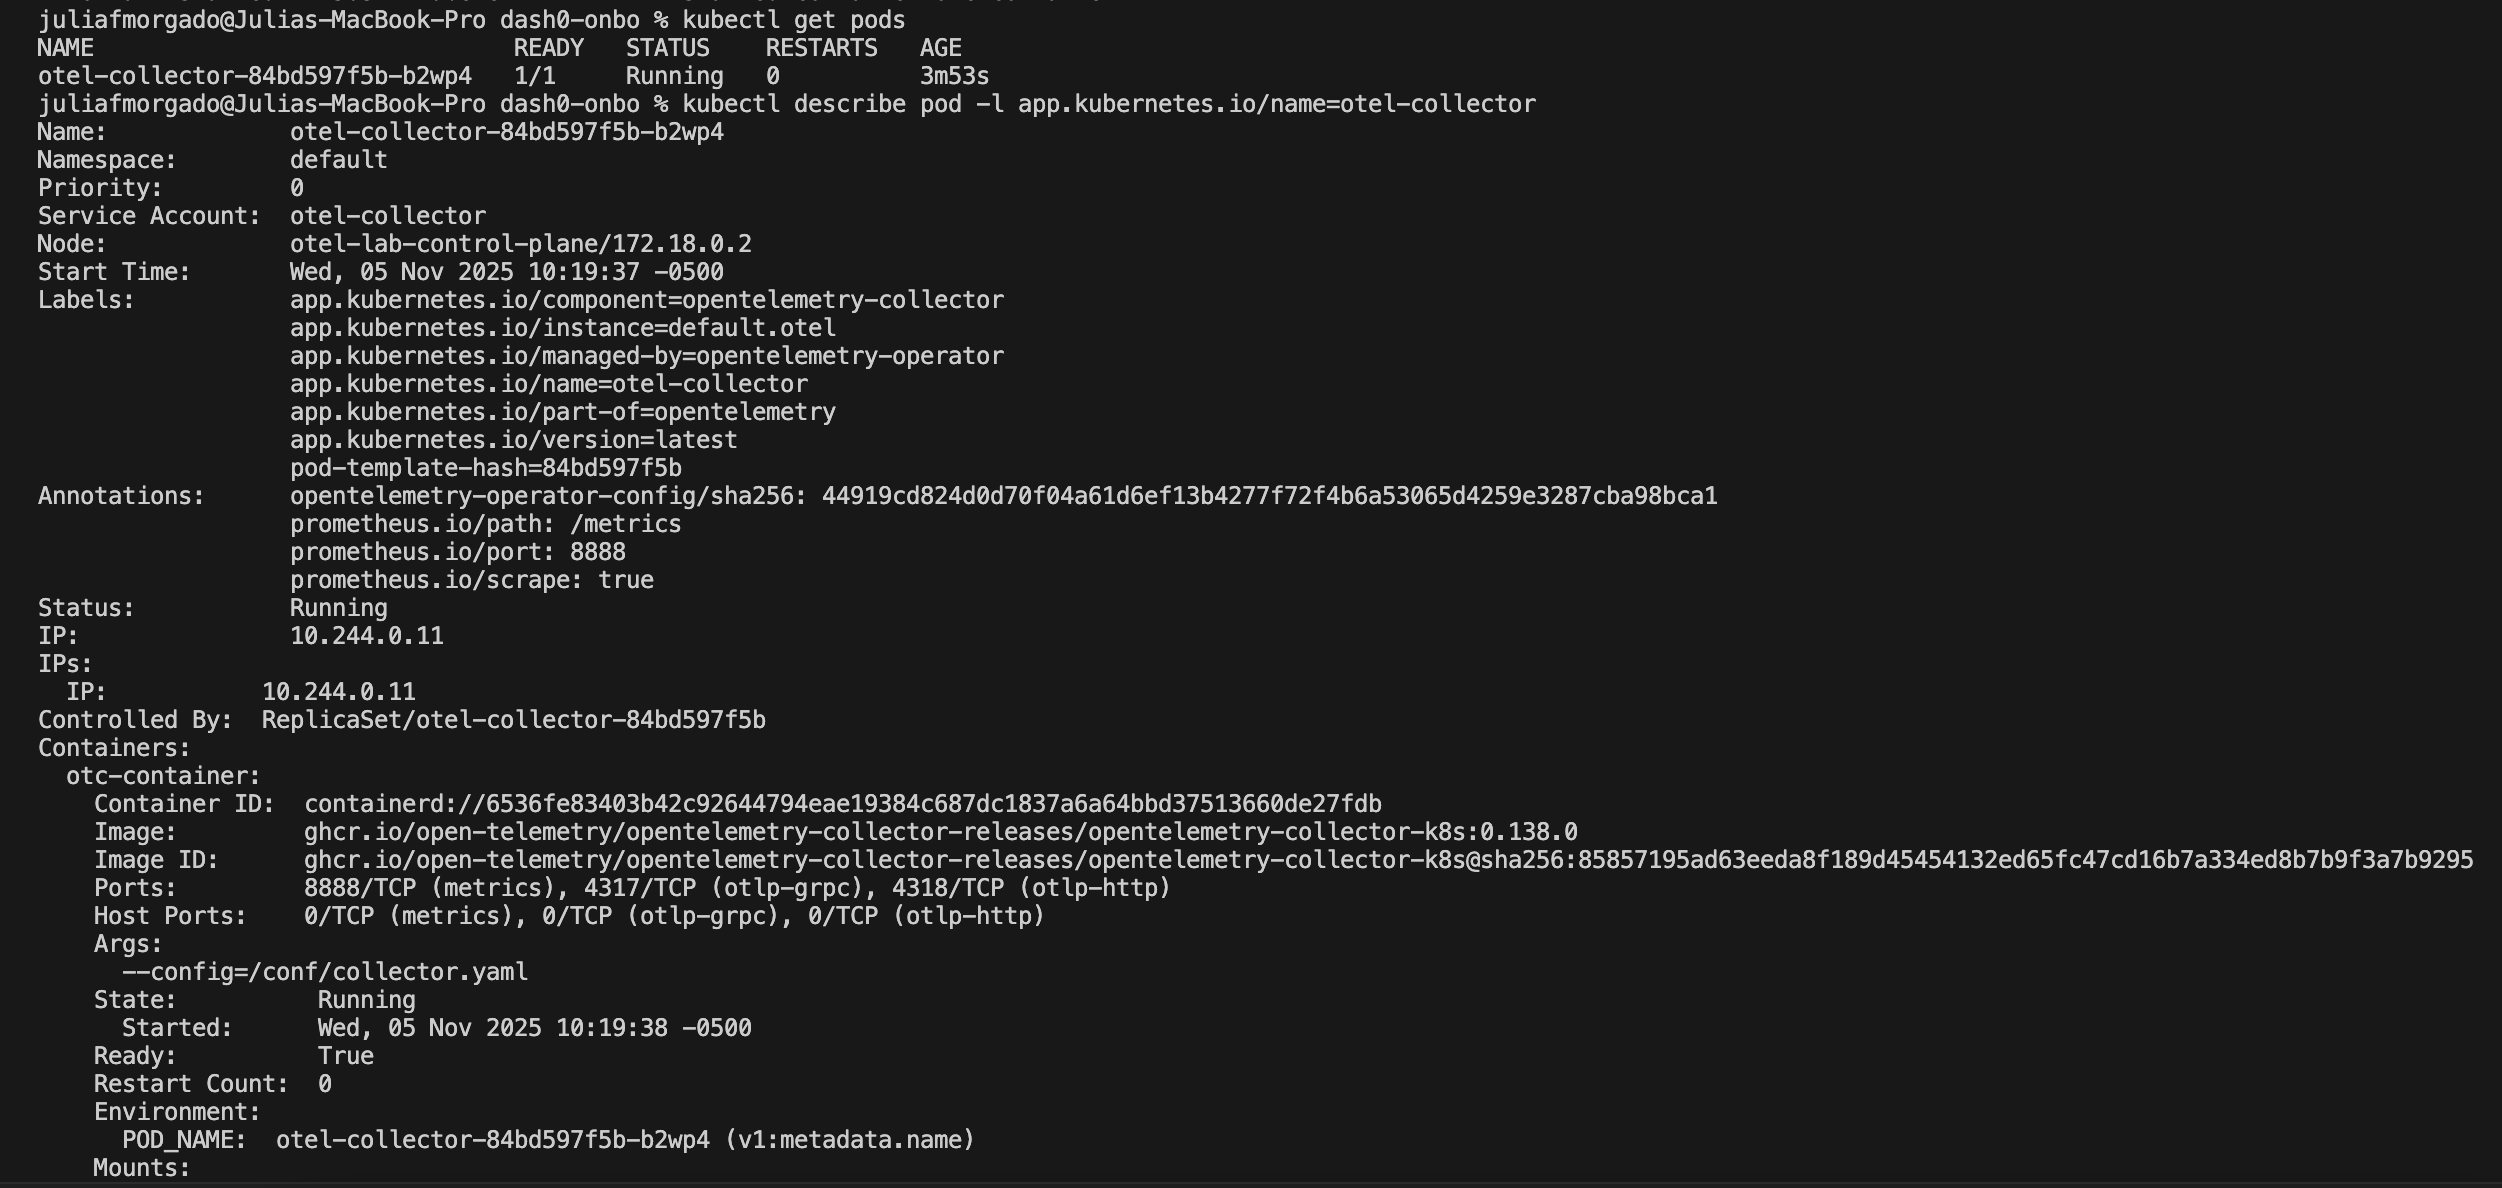
kubectl get pods
You should see a pod named like otel-collector-... running.
You can also run kubectl describe pod -l app.kubernetes.io/name=otel-collector to see your first OpenTelemetry component.
5) Create an Instrumentation resource 🔗
This small file is the final piece of instruction for the Operator. This defines how the Operator should inject telemetry and where that telemetry should go (in our case, the Collector).
Create `instrumentation.yaml`:
cat <<EOF >instrumentation.yaml
apiVersion: opentelemetry.io/v1alpha1
kind: Instrumentation
metadata:
  name: default
  namespace: default
spec:
  exporter:
    endpoint: http://otel-collector.default.svc.cluster.local:4317
  propagators:
    - tracecontext
    - baggage
  sampler:
    type: parentbased_traceidratio
    argument: "1.0"
EOF
Apply it by running kubectl apply -f instrumentation.yaml.
If you run kubectl get instrumentation you should see detault listed.

Now any app you deploy after this step that has the right OpenTelemetry annotation (coming in step 6) will be automatically instrumented and will send traces/metrics/logs to the collector at :4317.
6) Deploy two small demo apps 🔗
Now we’ll deploy two small apps locally, load them into kind, deploy them, and let the operator inject everything automatically. Auto-instrumentation means we don’t modify their code; we just add an annotation and the operator injects what’s needed.
6a) Node.js demo app 🔗
Let’s set up a super simple “Hello from Node” app by creating a Docker image (the Dockerfile should be inside the app-node folder):
mkdir app-node

cat <<EOF >app-node/Dockerfile
FROM node:18-alpine
WORKDIR /app
RUN npm init -y
RUN npm install express
# tiny server
RUN printf "const express=require('express');const app=express();app.get('/',(req,res)=>res.send('hello from node'));app.listen(3000);" > index.js
EXPOSE 3000
CMD ["node","index.js"]
EOF
Now let’s build the image and load it into our kind cluster:
docker build -t node-hello:local ./app-node
kind load docker-image node-hello:local --name otel-lab

Now we’ll deploy the app by creating a demo-node.yaml file.
Note the annotation that says “inject the Node auto-instrumentation”: This annotation is the signal that tells the OpenTelemetry Operator: “Inject the Node.js auto-instrumentation agent into this pod!”
cat <<EOF >demo-node.yaml
apiVersion: apps/v1
kind: Deployment
metadata:
  name: demo-node
  labels: { app: demo-node }
spec:
  replicas: 1
  selector:
    matchLabels: { app: demo-node }
  template:
    metadata:
      labels: { app: demo-node }
      annotations:
        instrumentation.opentelemetry.io/inject-nodejs: "true"
    spec:
      containers:
        - name: app
          image: node-hello:local
          ports:
            - containerPort: 3000
---
apiVersion: v1
kind: Service
metadata:
  name: demo-node
spec:
  selector: { app: demo-node }
  ports:
    - port: 80
      targetPort: 3000
EOF
Apply the file:
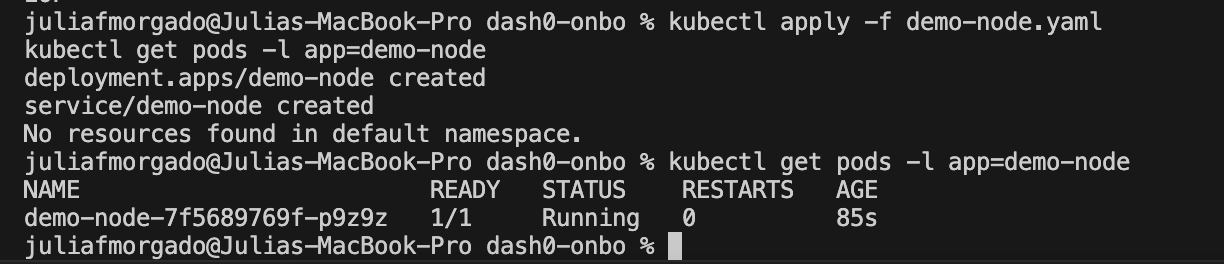
kubectl apply -f demo-node.yaml
kubectl get pods -l app=demo-node
You might have to wait a few seconds to see the demo-node pod. If needed rerun the command kubectl get pods -l app=demo-node.
Once it’s running, our Node app is automatically instrumented!
6b) Java demo app 🔗
Now we’ll build a simple Spring Boot (Java) app into a Docker image and load it into the cluster. Same idea here—there are no code changes. The operator will inject the Java agent into the app automatically.
Create app-java/Dockerfile:
mkdir app-java

cat <<'EOF' > app-java/Dockerfile
FROM maven:3.9-eclipse-temurin-17 AS build
WORKDIR /src

# Write pom.xml with spring-boot-maven-plugin repackage execution
RUN cat > pom.xml <<'POM'
<project xmlns="http://maven.apache.org/POM/4.0.0"
         xmlns:xsi="http://www.w3.org/2001/XMLSchema-instance"
         xsi:schemaLocation="http://maven.apache.org/POM/4.0.0 http://maven.apache.org/xsd/maven-4.0.0.xsd">
  <modelVersion>4.0.0</modelVersion>
  <groupId>demo</groupId>
  <artifactId>hello</artifactId>
  <version>0.0.1</version>
  <properties>
    <java.version>17</java.version>
    <spring.boot.version>3.3.0</spring.boot.version>
  </properties>
  <dependencies>
    <dependency>
      <groupId>org.springframework.boot</groupId>
      <artifactId>spring-boot-starter-web</artifactId>
      <version>${spring.boot.version}</version>
    </dependency>
  </dependencies>
  <build>
    <plugins>
      <plugin>
        <groupId>org.springframework.boot</groupId>
        <artifactId>spring-boot-maven-plugin</artifactId>
        <version>${spring.boot.version}</version>
        <executions>
          <execution>
            <goals><goal>repackage</goal></goals>
          </execution>
        </executions>
      </plugin>
    </plugins>
  </build>
</project>
POM

# Minimal Spring Boot app
RUN mkdir -p src/main/java/demo
RUN cat > src/main/java/demo/App.java <<'JAVA'
package demo;

import org.springframework.boot.*;
import org.springframework.boot.autoconfigure.*;
import org.springframework.web.bind.annotation.*;

@SpringBootApplication
public class App {
  public static void main(String[] args) {
    SpringApplication.run(App.class, args);
  }
}

@RestController
class Hello {
  @GetMapping("/")
  public String hi() { return "hello from java"; }
}
JAVA

# Build a fat/executable jar
RUN mvn -q -DskipTests package

# Runtime image
FROM eclipse-temurin:17-jre
WORKDIR /app
COPY --from=build /src/target/hello-0.0.1.jar app.jar
EXPOSE 8080
ENTRYPOINT ["java","-jar","/app/app.jar"]
EOF
Build the image and load into kind:
docker build -t java-hello:local ./app-java
kind load docker-image java-hello:local --name otel-lab
Now we’ll deploy it with the Java auto-instrumentation annotation. The annotation is telling the Operator: “Inject the Java auto-instrumentation agent into this pod!”
Create a demo-java.yaml file:
cat <<EOF >demo-java.yaml
apiVersion: apps/v1
kind: Deployment
metadata:
  name: demo-java
  labels: { app: demo-java }
spec:
  replicas: 1
  selector:
    matchLabels: { app: demo-java }
  template:
    metadata:
      labels: { app: demo-java }
      annotations:
        instrumentation.opentelemetry.io/inject-java: "true"
    spec:
      containers:
        - name: app
          image: java-hello:local
          ports:
            - containerPort: 8080
---
apiVersion: v1
kind: Service
metadata:
  name: demo-java
spec:
  selector: { app: demo-java }
  ports:
    - port: 80
      targetPort: 8080
EOF
Apply it:
kubectl apply -f demo-java.yaml
kubectl get pods -l app=demo-java

7) Generate some traffic (so telemetry exists) 🔗
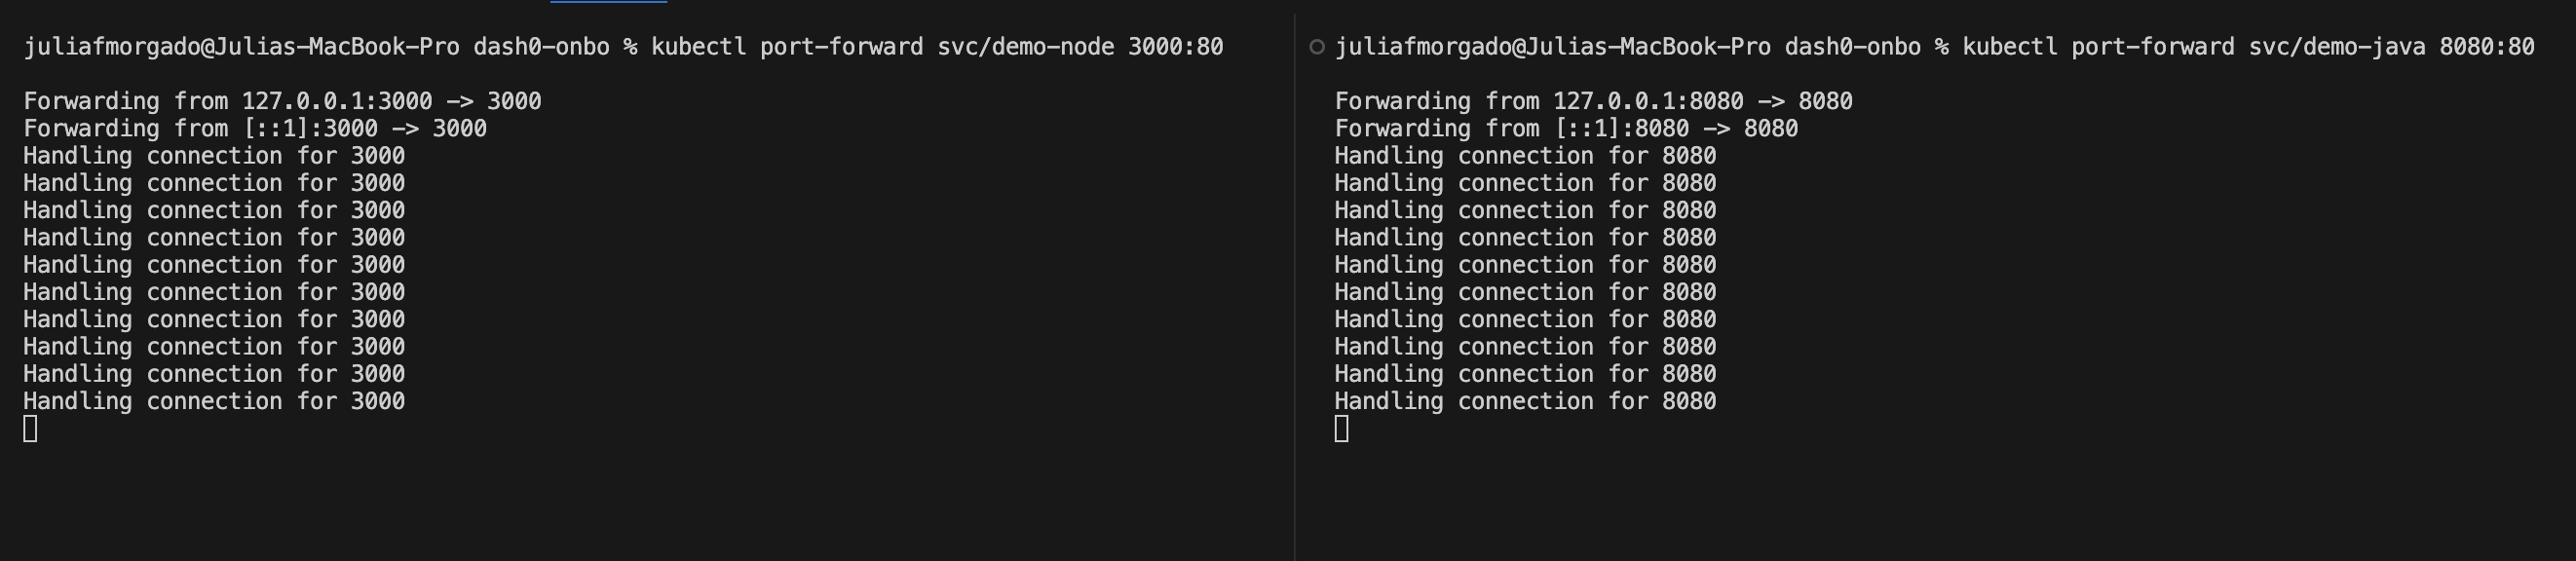
Let’s pretend the apps are being used so there’s data to collect! We need to send some requests to them. So open two terminals and port-forward each service and curl them a few times:
Terminal A:
kubectl port-forward svc/demo-node 3000:80
Terminal B:
kubectl port-forward svc/demo-java 8080:80
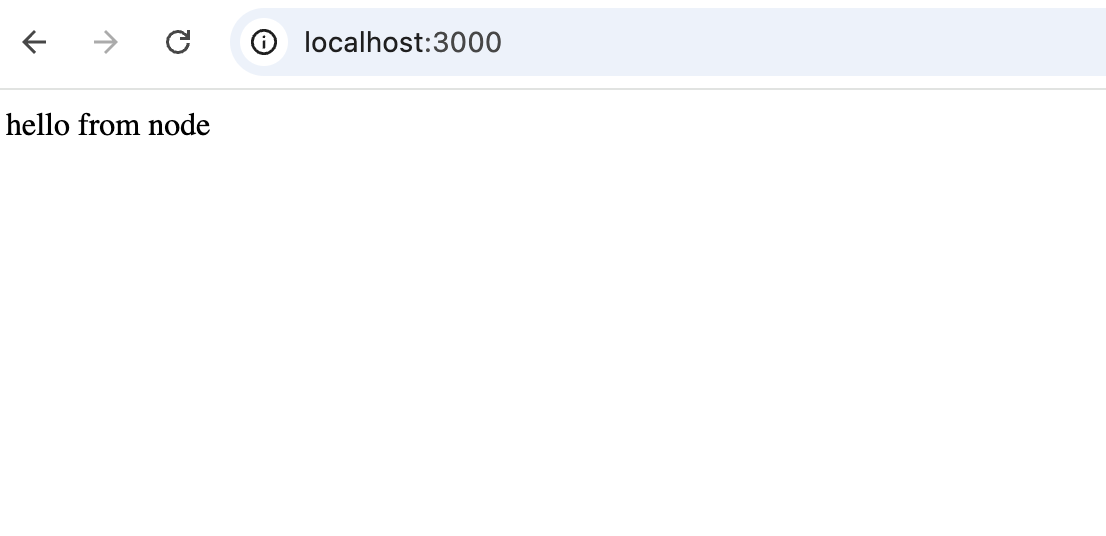
Now hit them in a new terminal or on the browser:
curl http://localhost:3000/
curl http://localhost:8080/
You should see “hello from node” and “hello from java.”
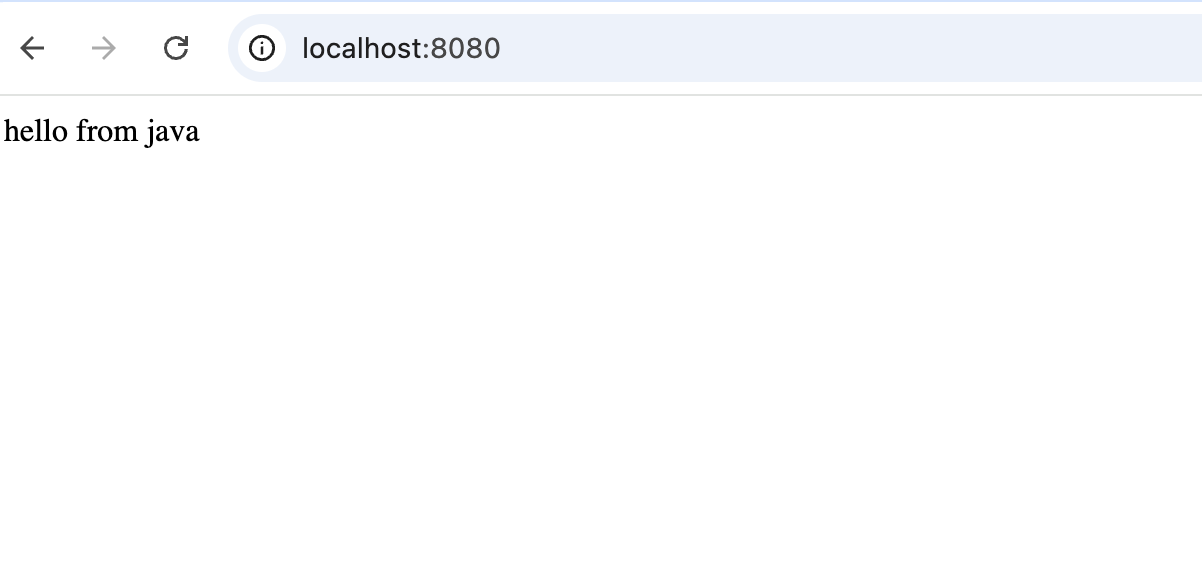
Run each a few times.
8) Watch Telemetry Flow into the Collector 🔗
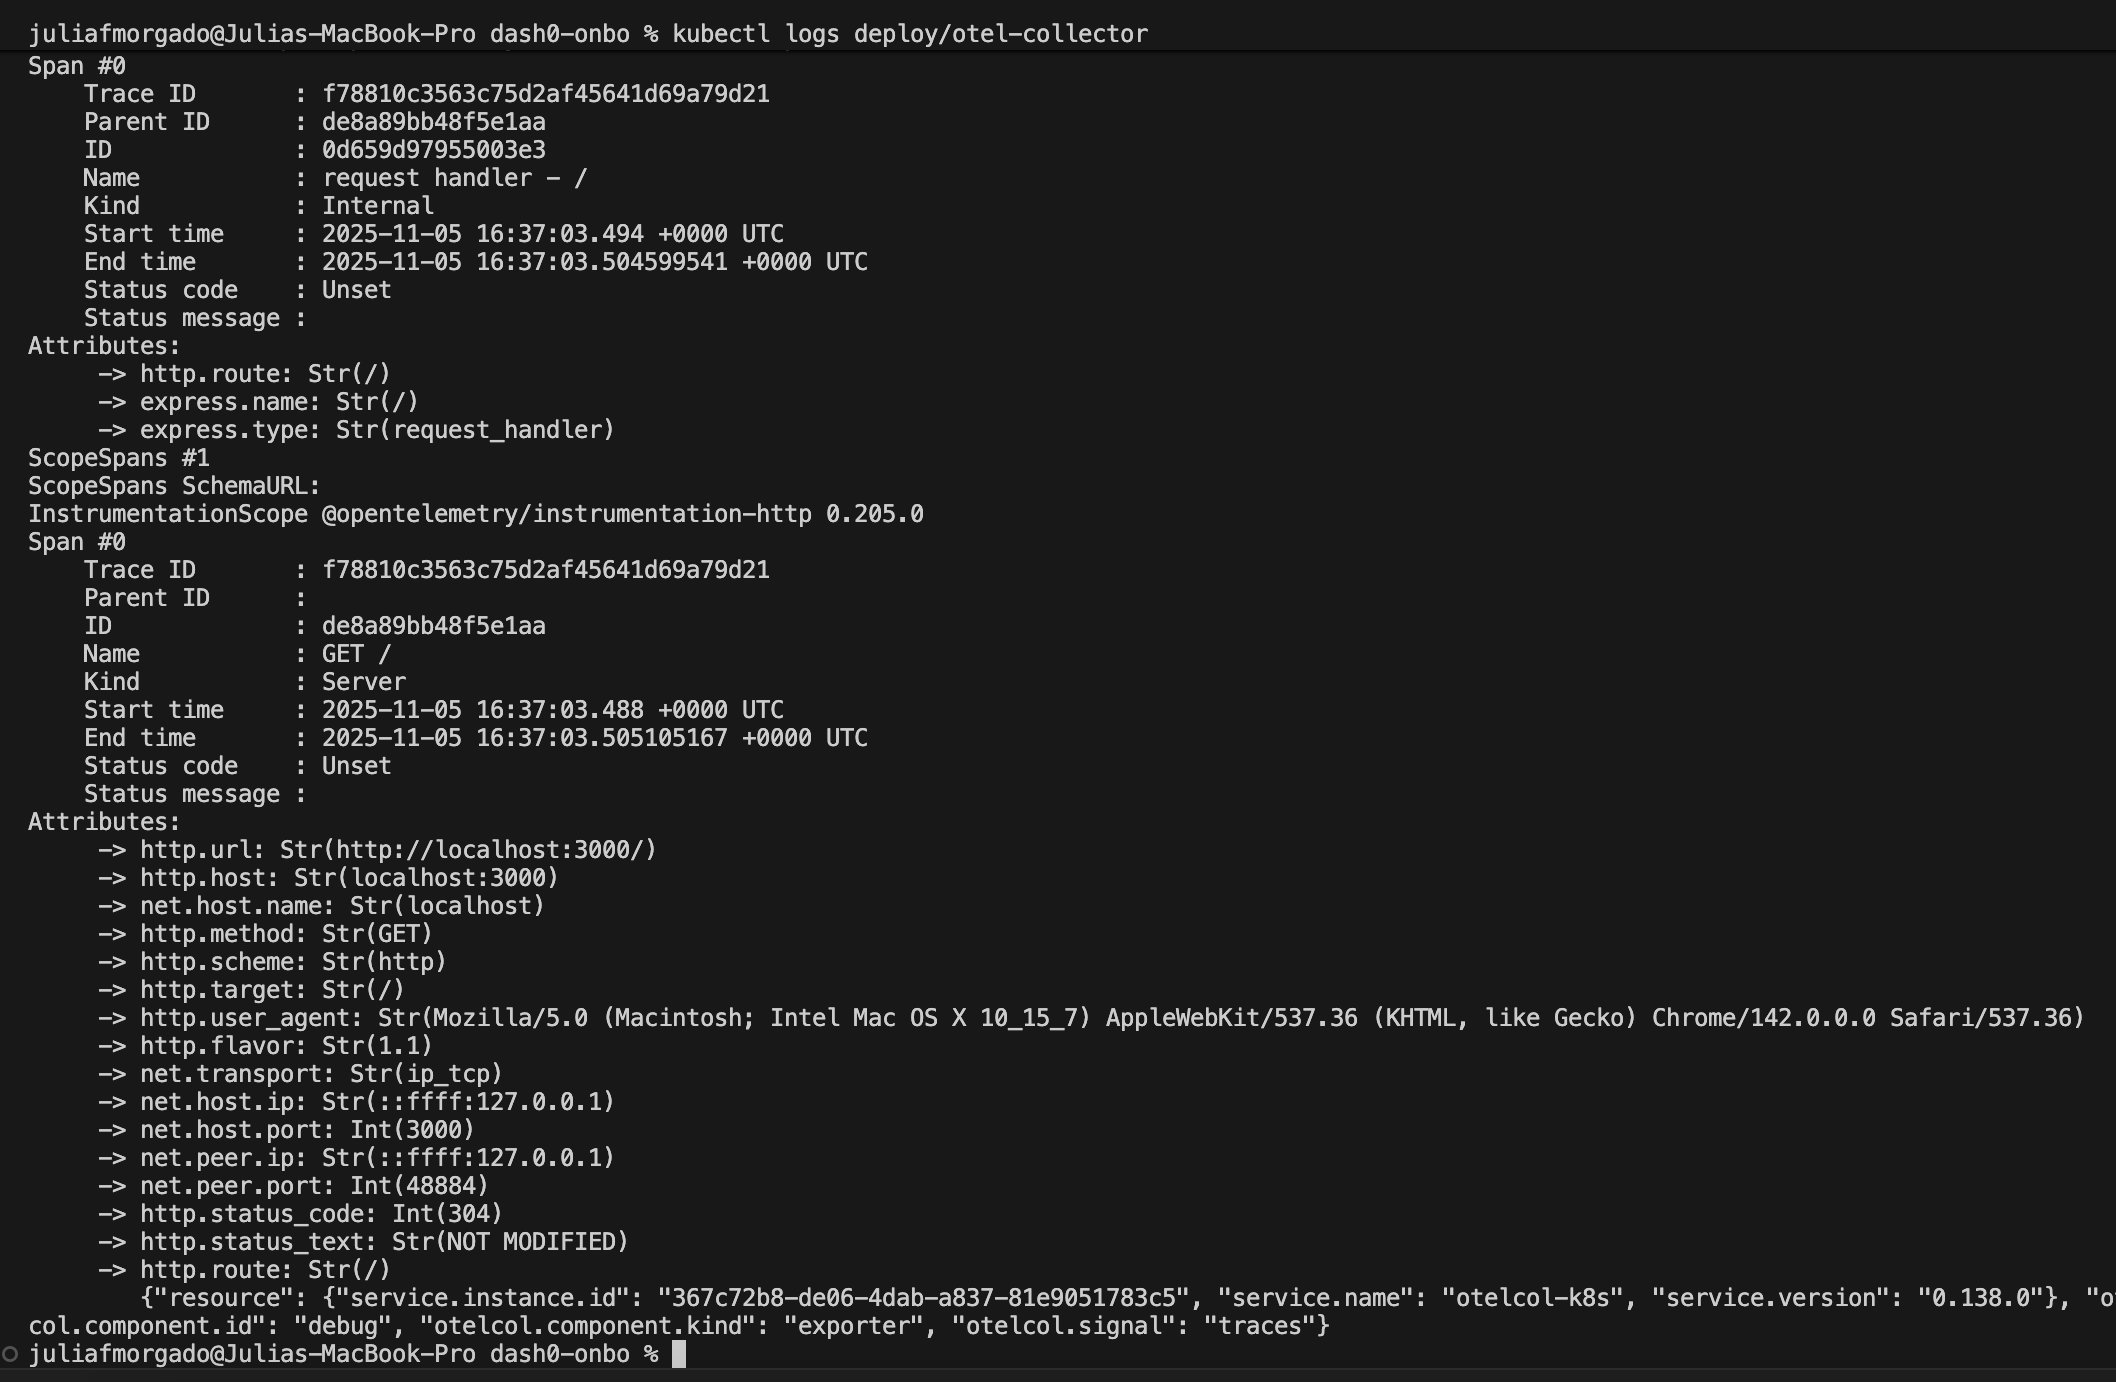
Let’s look at what the collector is receiving. Because you used the debug exporter, the collector prints incoming signals:
kubectl logs deploy/otel-collector
You should see entries mentioning traces, metrics, or logs associated with demo-node and demo-java. That proves the Operator’s auto-instrumentation is working and your apps are sending data to the collector!
9) What’s Next — Sending Telemetry to Dash0 🔗
Currently, everything is local, but the next step is where things get really exciting. Next up, we’ll integrate the Dash0 Operator to automatically send your OpenTelemetry data to Dash0 and instantly visualize metrics, traces, and relationships across your entire stack — no extra configuration or complex wiring.
10) Clean up (optional) 🔗
kind delete cluster --name otel-lab
Summary 🔗
We did it! In this hands-on walkthrough, we:
- Built a local Kubernetes cluster with kind
- Installed the OpenTelemetry Operator & Collector
- Deployed Node.js and Java apps
- Verified auto-instrumentation — no code changes
- Saw telemetry flow end-to-end
Stay tuned, in the next post, we’ll connect Dash0 and explore real dashboards, traces, and insights with zero manual instrumentation!
See you soon!
If you enjoyed this walkthrough:
- Follow me on (https://twitter.com/juliafmorgado)
- Connect on LinkedIn
- Check out my IG
- Subscribe to my Youtube for more hands-on tech demos & DevRel adventures ❤️