How to Contribute to CNCF Glossary Localization - No Code!
Introduction
The Cloud Native Computing Foundation (CNCF) Glossary is a valuable resource that helps clarify the terminology and jargon used in the world of cloud-native computing. It provides concise and precise definitions of essential terms, making it an indispensable tool for both newcomers and seasoned professionals in the field.
I always encourage everyone to start contributing to Open Source early on in their career because you will:
- Learn and gain experience
- Meet people who are interested in similar things as you
- Find mentors
- Grow a reputation and leverage your career
- Get those green squares on GitHub
- Benefit a lot more!
Localization?
Localization is the process of translating and adapting a product or service to a specific language and culture. In the context of the Cloud Native Glossary, localization refers to translating the glossary terms and definitions into other languages. You can also contribute in different ways if you only speak English (don’t forget to read my guide on how to become an Open Source contributor).
Contributing to the localization of the CNCF Glossary is not only a fantastic way to give back to the cloud-native community but also an excellent opportunity to deepen your understanding of the technology and its terminology. By participating in this open-source project, you’ll be making it accessible to a wider audience, especially those who prefer to consume content in their native languages.

Steps to contribute
Read the documentation
Read the How to Contribute page on the Cloud Native Glossary website. This page provides information on how to localize the glossary, including the localization guide, style guide, and best practices.

Join the community
Join the CNCF Slack workspace and join the #glossary-localizations and #glossary-localization-[your language name] channels. These channels are where you can connect with other members of the Cloud Native Glossary localization team and get help with any questions you have. If the CNCF Glossary project does not have a localization team for your language yet, read this.

Look for open issues that haven’t been assigned
You can find open issues by searching the Cloud Native Glossary GitHub repository, and filtering them with labels "is:issue is:open label:lang/pt no:assignee".

Note: In this example, “pt” is for Portuguese but you can change the label to your language. For example, Hindi would be
label:lang/hi, and French would belabel:lang/fr.
If you don’t find any open issues
In case there are no open issues, check the Slack channel dedicated to your language for pinned documents that show the terms/pages that still need to be translated. Also consider sending a friendly and polite message in the Slack channel to introduce yourself, express your interest in contributing to the project, and inquire if there is an available list or tracking system for translation tasks.
If you found an issue
Once you have found an issue, drop a comment saying you would like to take that issue/work on that. A member of the Cloud Native Glossary localization team will review your request and approve it. Wait to be accepted because sometimes there is already someone working on it and you’ll have done work for nothing.

Fork the Cloud Native Glossary GitHub repository
This will create a copy of the repository on your own GitHub account.

Clone the forked repository
Use the git clone command to clone the forked repository to the IDE in your local machine or any IDE that you are using. I’ve been using AWS Cloud9 lately and really liking it.

Create a working branch
For example, if you are translating to Portuguese, you would create a branch from the dev-pt branch. If you’re not familiar with the Git and GitHub workflow you can skip this step.
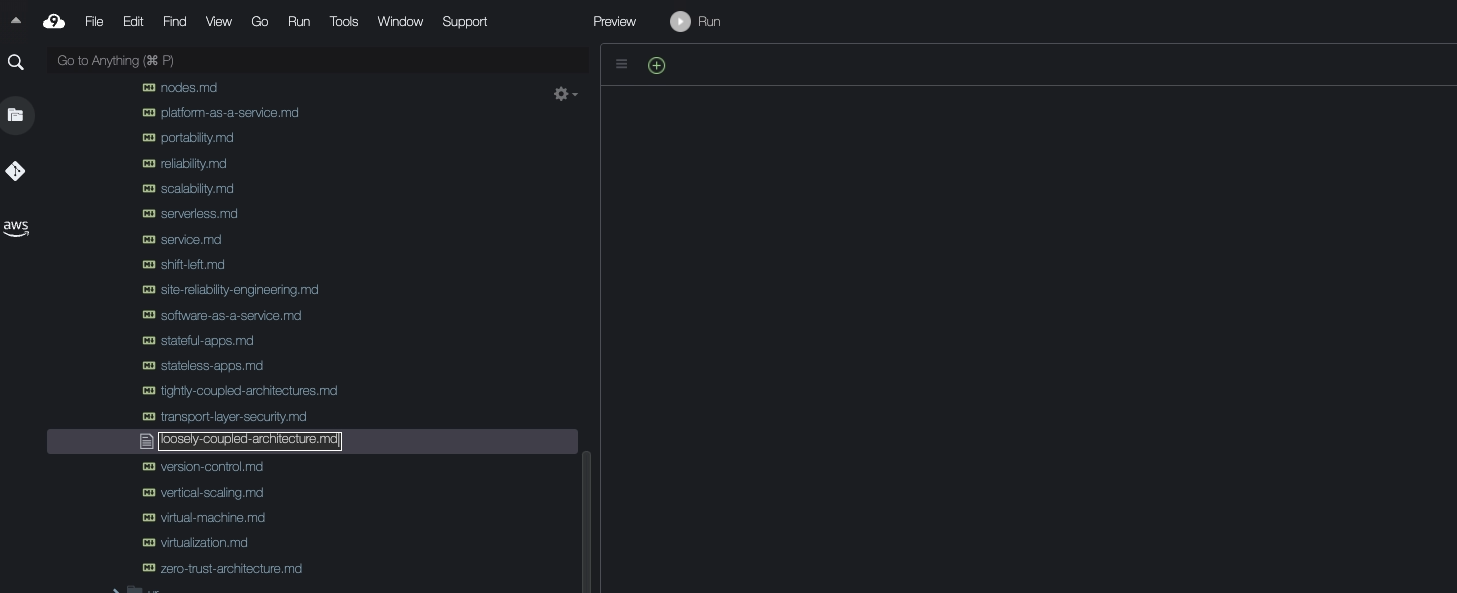
Create a new .md file
Inside the folder of your language, create a new file for the term and name it with the name in English (don’t forget the .md at the end).
Translate the term
Be sure to follow the localization guide and style guide when translating the terms. Check the terms that have already been translated to use the same words. Don’t forget to translate the title, category, and tags. Once you make sure to review it carefully. Project reviewers and maintainers have busy schedules, and it can be burdensome for them to request minor corrections like a missing comma or an accent mark.
Important: If your term includes hyperlinks to other terms and those terms have already been translated, ensure you modify the hyperlink to direct to the translated term. For instance, if you’re translating a term into Portuguese, update the hyperlink from https://glossary.cncf.io/abstraction/ to https://glossary.cncf.io/pt-br/abstraction/. This helps maintain a seamless experience for users accessing the glossary in their preferred language.
![]()
Commit your changes and push them to your forked repository
First, write on your terminal: git add [path_to_your_file] or if you just changed that file you can do git add .
Then write: git commit -m 'new translation for [term]'
And finally: git push
Once you have pushed your changes to your forked repository, you will see that your branch is ahead of the cncf:main branch and that you can contribute to it by opening a pull request (also known as PR).

Open a pull request.
To open a PR, click on the green button to open a pull request pointing to the Portuguese development branch (dev-pt) - or any other language, to merge your changes into the main Cloud Native Glossary repository.

(optional)
In the team’s slack channel (#glossary-localization-portuguese), let them know that you submitted your PR.
Wait for your pull request to be reviewed
Once you have opened a pull request, the members of the Cloud Native Glossary localization team in your language will review your changes. They may provide feedback or suggest changes to your translations. Frequently monitor the notifications located in the upper right corner of your screen; this is where you’ll find them.

Make any necessary changes and update your pull request
Merge your pull request
Once your pull request has been approved, you can merge into the main Cloud Native Glossary repository and your translations will be published to the Cloud Native Glossary website. If you created a branch on step 8, you can also delete it now. And voilá!

Final Tips
- Start small. Don’t feel like you need to translate the entire glossary at once. Start by translating a few terms or pages that you are familiar with or that are relevant to your interests.
- Use the existing translations. If a term or page has already been translated into your language, you can use that translation as a starting point. However, be sure to review the existing translation and make any necessary changes.
- Be consistent. When translating terms, try to be as consistent as possible. Use the same terminology throughout the glossary and avoid using different translations for the same term.
- If you have any questions or need help with anything drop a message on the Slack channel. If you have any questions or need help with anything, don’t hesitate to ask for help in the #glossary-localizations Slack channel or in the Slack channel for your language. The other members of the team are always happy to help new contributors. Don’t be embarrassed and don’t wait too long; otherwise, the project reviewers/maintainers will think you’ve abandoned it.
Good luck and let me know if you would like to know other projects that you can contribute like that!
If you liked this article, go follow me on Twitter (where I share my tech journey) daily, connect with me on LinkedIn, check out my IG, and make sure to subscribe to my Youtube channel for more amazing content!!